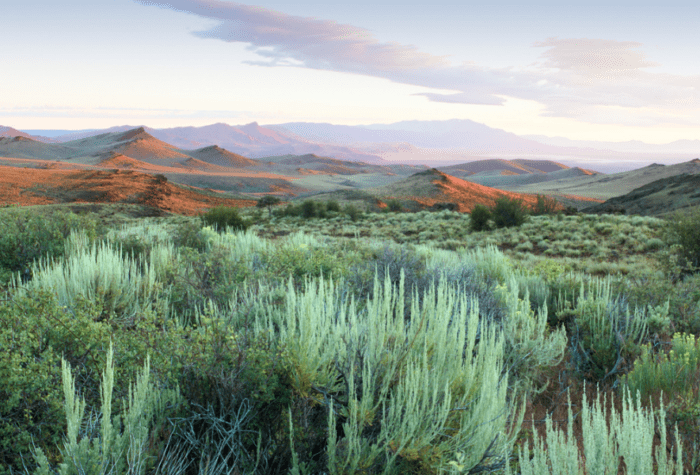
Did you already read How to Shoot a Desert Video – Part 1 that covers planning for and shooting your video? If so, check out this post to get some pointers on how to turn your raw footage into a final product!
Editing
1. Determine the right length for your video
For the kind of video project we’ve been discussing here, you should aim for a final video between one and four minutes. If you think you have great footage, a strong narrative or more information than could possibly fit in under five minutes, then, by all means, make your video longer. But, do your best to turn a critical eye on your project and recognize if and where your video is bloated. Try to put yourself in the audience’s chair. Your video could probably be better with more trimmed out.
It’s hard to be objective about footage you’ve taken and easy to get emotionally attached to particular shots. Asking another person to look through your drafts and make suggestions about what to keep and what to cut can be quite helpful.
2. Find music
The moment a piece of music is created, a copyright for that music is created also, which means that whoever created that music owns the rights to it and can decide if and how other people are allowed to use it via licensing. For most popular songs, the copyrights are held by recording companies that charge tremendous fees to license those songs for use in a video project.
Some artists chose to allow their music to be shared and reused by others, and release their music under a Creative Commons license. Different types of Creative Commons licenses allow different types of use.
Learn more and find free music here:
3. Remember Your Narrative
In the editing process, you’ll take the narrative idea you developed in the planning and shooting phases and make it a reality by arranging your footage in a way that tells the story you intend. Start by watching through all the footage you shot on your trip. Ask yourself if you see the footage you need to properly develop the narrative arc you had it mind. It’s not uncommon to find that you don’t have all the shots you’d hoped for. You may have to adjust the narrative of your video accordingly and get creative about how you might arrange your footage to create a finished video.
4. Embrace the Editing Process
Don’t get bogged down trying to do too much in any one pass through your material. Editing is a process. You’ll go through the footage you’ve shot repeatedly, each time selecting clips you like and trimming out parts that are not as great. Eventually, you’ll arrange your clips in the order you’d like them.
To give you an idea of what I mean, here are the steps I generally follow:
Step 1: look through all my footage. Move any clips with good material into a timeline in my editing software.
Step 2: Look through the clips in my timeline. Trim any parts of them that don’t look so good.
Step 3: Organize the trimmed clips on my timeline into “good,” “better,” and “best” groups.
Step 4: Re-watch all the clips in my “best” group. Arrange them roughly along the lines of my narrative.
Step 5: Identify holes in my narrative Look through my “good” and “better” groups for clips I could use to make sure my narrative flows smoothly.
You can make as many passes through your material and rough drafts as you would like. And, there are many more steps you can take, including color grading and timing your cuts to your background music. Just remember: editing is all about slowly refining your video. The more refinement you give it, the better your finished product will be.
5. Wrap It Up
If you’re posting your video online, consider giving it a name and adding a title near the start of the video. You may want to add a short credits section at the end where you can say who made the video and give a shout-out to anyone who helped on this production.