Essential
Oregon’s high desert is an arid landscape, defined by the scarcity of water, but that does not mean that this vast landscape is without water. It means that every stream, […]
Read More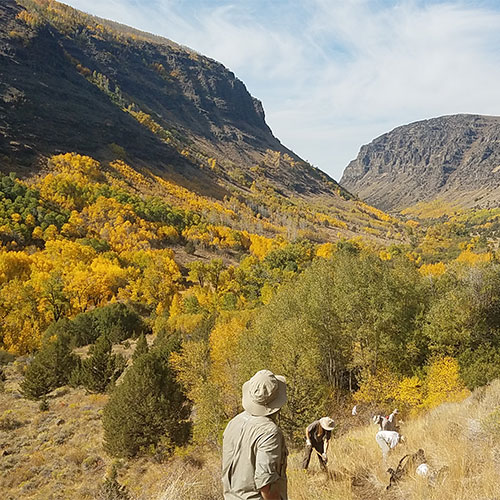
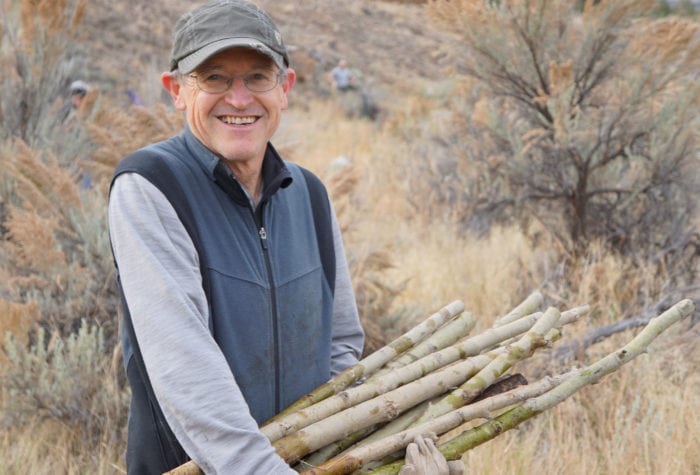
Your Next Autumn Activity:Volunteering
As golden aspen leaves and frosty mornings mark the arrival of fall in Oregon’s high desert, welcomed rains are bringing fire danger down and allowing volunteers to resume work on […]
Read More
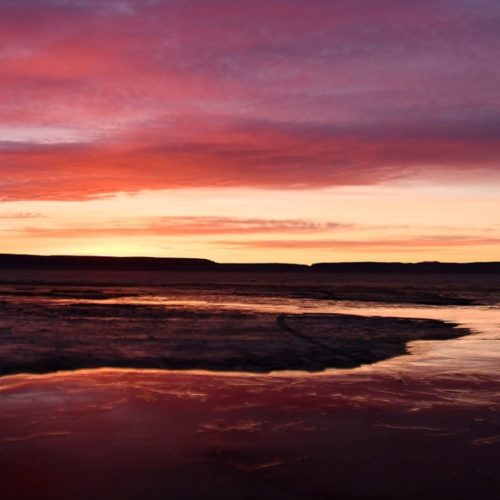
How-to: Playa Like a Pro
Author: Renee Patrick | Published: August 12, 2021 | Category: How-to The Alvord Desert Wilderness Study Area is an iconic attraction in Oregon’s high desert. The 50-mile long Steens Mountain […]
Read More
Reimagine Your Public Lands
Author: Lace Thornberg | Published: July 14, 2021 | Updated: September 17, 2021 | Category: In the News National Public Lands Day is celebrated annually on the fourth Saturday in […]
Read More
Streamside Story: Cody Hess
Author: Joanna Zhang | Published: June 3, 2021 | Category: Profiles “While I was out there, I didn’t see a single person, didn’t hear an airplane or truck. There was […]
Read More
Nate Wilson-Traisman, member since 2019
“My greatest hope is that Oregon’s desert continues to gain public lands protections, and is guarded from unsustainable development, so that future generations may benefit from all the region has […]
Read More
Winter Wildlife Watching
By Scott Bowler What’s there to do in the desert in the winter? Watch wildlife! In many ways, especially at lower elevations, winter’s cold weather can provide some great hiking […]
Read More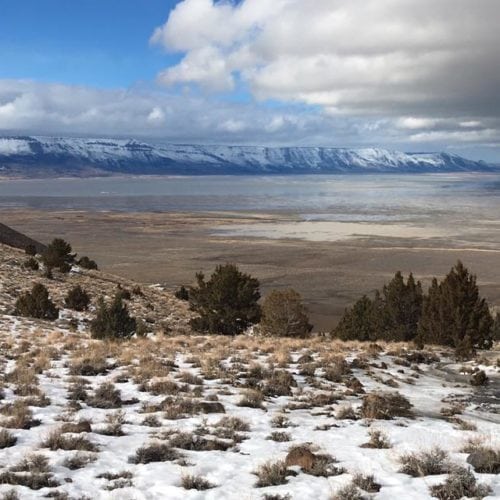
Signs of Winter
Author: Scott Bowler | Published: Dec. 15, 2020 | Updated: Dec. 21, 2021 | Category: Phenology Winter may seem harsh, and it is indeed a difficult time to live outdoors, […]
Read More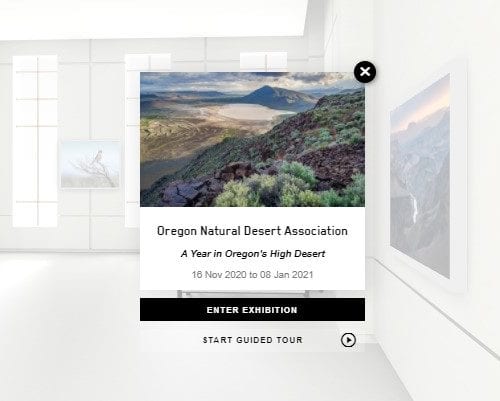
Healthy Escapism
“A Year in Oregon’s High Desert” offers escapism you can feel good about Feeling stressed? A dose of natural beauty could help. Studies have shown that spending time in a […]
Read More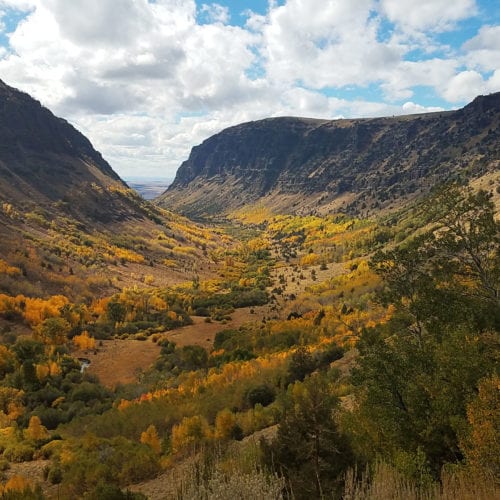
25 Facts About Steens
Author: Mark Salvo and Anne White | Published: October 28, 2025 | Category: In the News There’s more to Steens than meets the eye Those who are familiar with Steens […]
Read More